mNo edit summary Tag: sourceedit |
mNo edit summary Tag: sourceedit |
||
| Line 41: | Line 41: | ||
{| width=50% border="0" cellspacing="2" align="center" style="font-size: 11px; line-height: 10px;" |
{| width=50% border="0" cellspacing="2" align="center" style="font-size: 11px; line-height: 10px;" |
||
|- align=center valign=top |
|- align=center valign=top |
||
| − | | align=center width=50% | {{Portal rectangle 160px|articlename=Channel Chasers/Images/1|name= |
+ | | align=center width=50% | {{Portal rectangle 160px|articlename=Channel Chasers/Images/1|name=Gallery 1|image=ChannelChasersPt1-123.jpg}} |
| align=center width=50% | |
| align=center width=50% | |
||
| − | | align=center width=50% | {{Portal rectangle 160px|articlename=Channel Chasers/Images/3|name= |
+ | | align=center width=50% | {{Portal rectangle 160px|articlename=Channel Chasers/Images/3|name=Gallery 3|image=ChannelChasersPt2-158.jpg}} |
| align=center width=50% | |
| align=center width=50% | |
||
| − | | align=center width=50% | {{Portal rectangle 160px|articlename=Channel Chasers/Images/5|name= |
+ | | align=center width=50% | {{Portal rectangle 160px|articlename=Channel Chasers/Images/5|name=Gallery 5|image=ChannelChasersPt3-311.jpg}} |
|} |
|} |
||
{| width=50% border="0" cellspacing="2" align="center" style="font-size: 11px; line-height: 10px;" |
{| width=50% border="0" cellspacing="2" align="center" style="font-size: 11px; line-height: 10px;" |
||
| Line 53: | Line 53: | ||
{| width=50% border="0" cellspacing="2" align="center" style="font-size: 11px; line-height: 10px;" |
{| width=50% border="0" cellspacing="2" align="center" style="font-size: 11px; line-height: 10px;" |
||
|- align=center valign=top |
|- align=center valign=top |
||
| − | | align=center width=50% | {{Portal rectangle 160px|articlename=Channel Chasers/Images/2|name= |
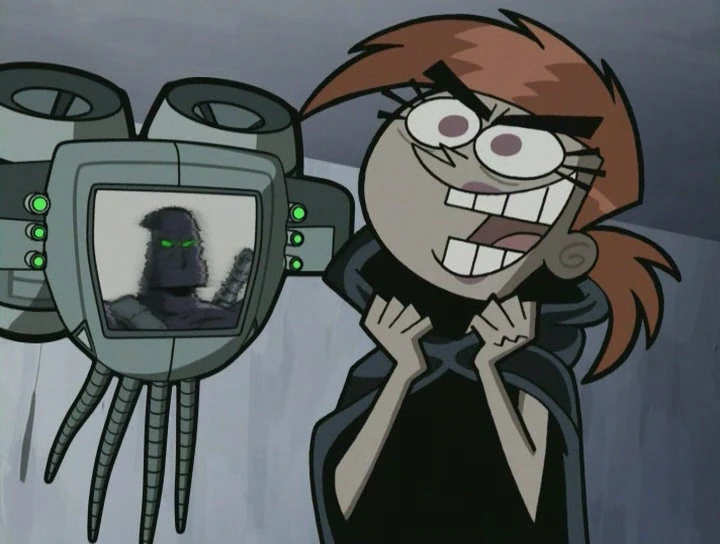
+ | | align=center width=50% | {{Portal rectangle 160px|articlename=Channel Chasers/Images/2|name=Gallery 2|image=ChannelChasersPt1-673.jpg}} |
| align=center width=50% | |
| align=center width=50% | |
||
| − | | align=center width=50% | {{Portal rectangle 160px|articlename=Channel Chasers/Images/4|name= |
+ | | align=center width=50% | {{Portal rectangle 160px|articlename=Channel Chasers/Images/4|name=Gallery 4|image=ChannelChasersPt2-488.jpg}} |
| align=center width=50% | |
| align=center width=50% | |
||
| − | | align=center width=50% | {{Portal rectangle 160px|articlename=Channel Chasers/Images/6|name= |
+ | | align=center width=50% | {{Portal rectangle 160px|articlename=Channel Chasers/Images/6|name=Gallery 6|image=ChannelChasersPt3-645.jpg}} |
|} |
|} |
||
{{Table-Break}} |
{{Table-Break}} |
||
Revision as of 08:10, 29 May 2016
Template:TabI
"Channel Chasers" Images by Character
|
|
|
|
|
|
|
|
|
|
|
|


|
|
|
|
|
|
|


Image Galleries
|
|
|
|
|
|
|
|
|
|
|
Promotional Images
")
A promotional poster for the movie.
Production Images
")
Vickybot concept art
| Previous Episode | Channel Chasers |
Next Episode |
|---|
Template:S4I